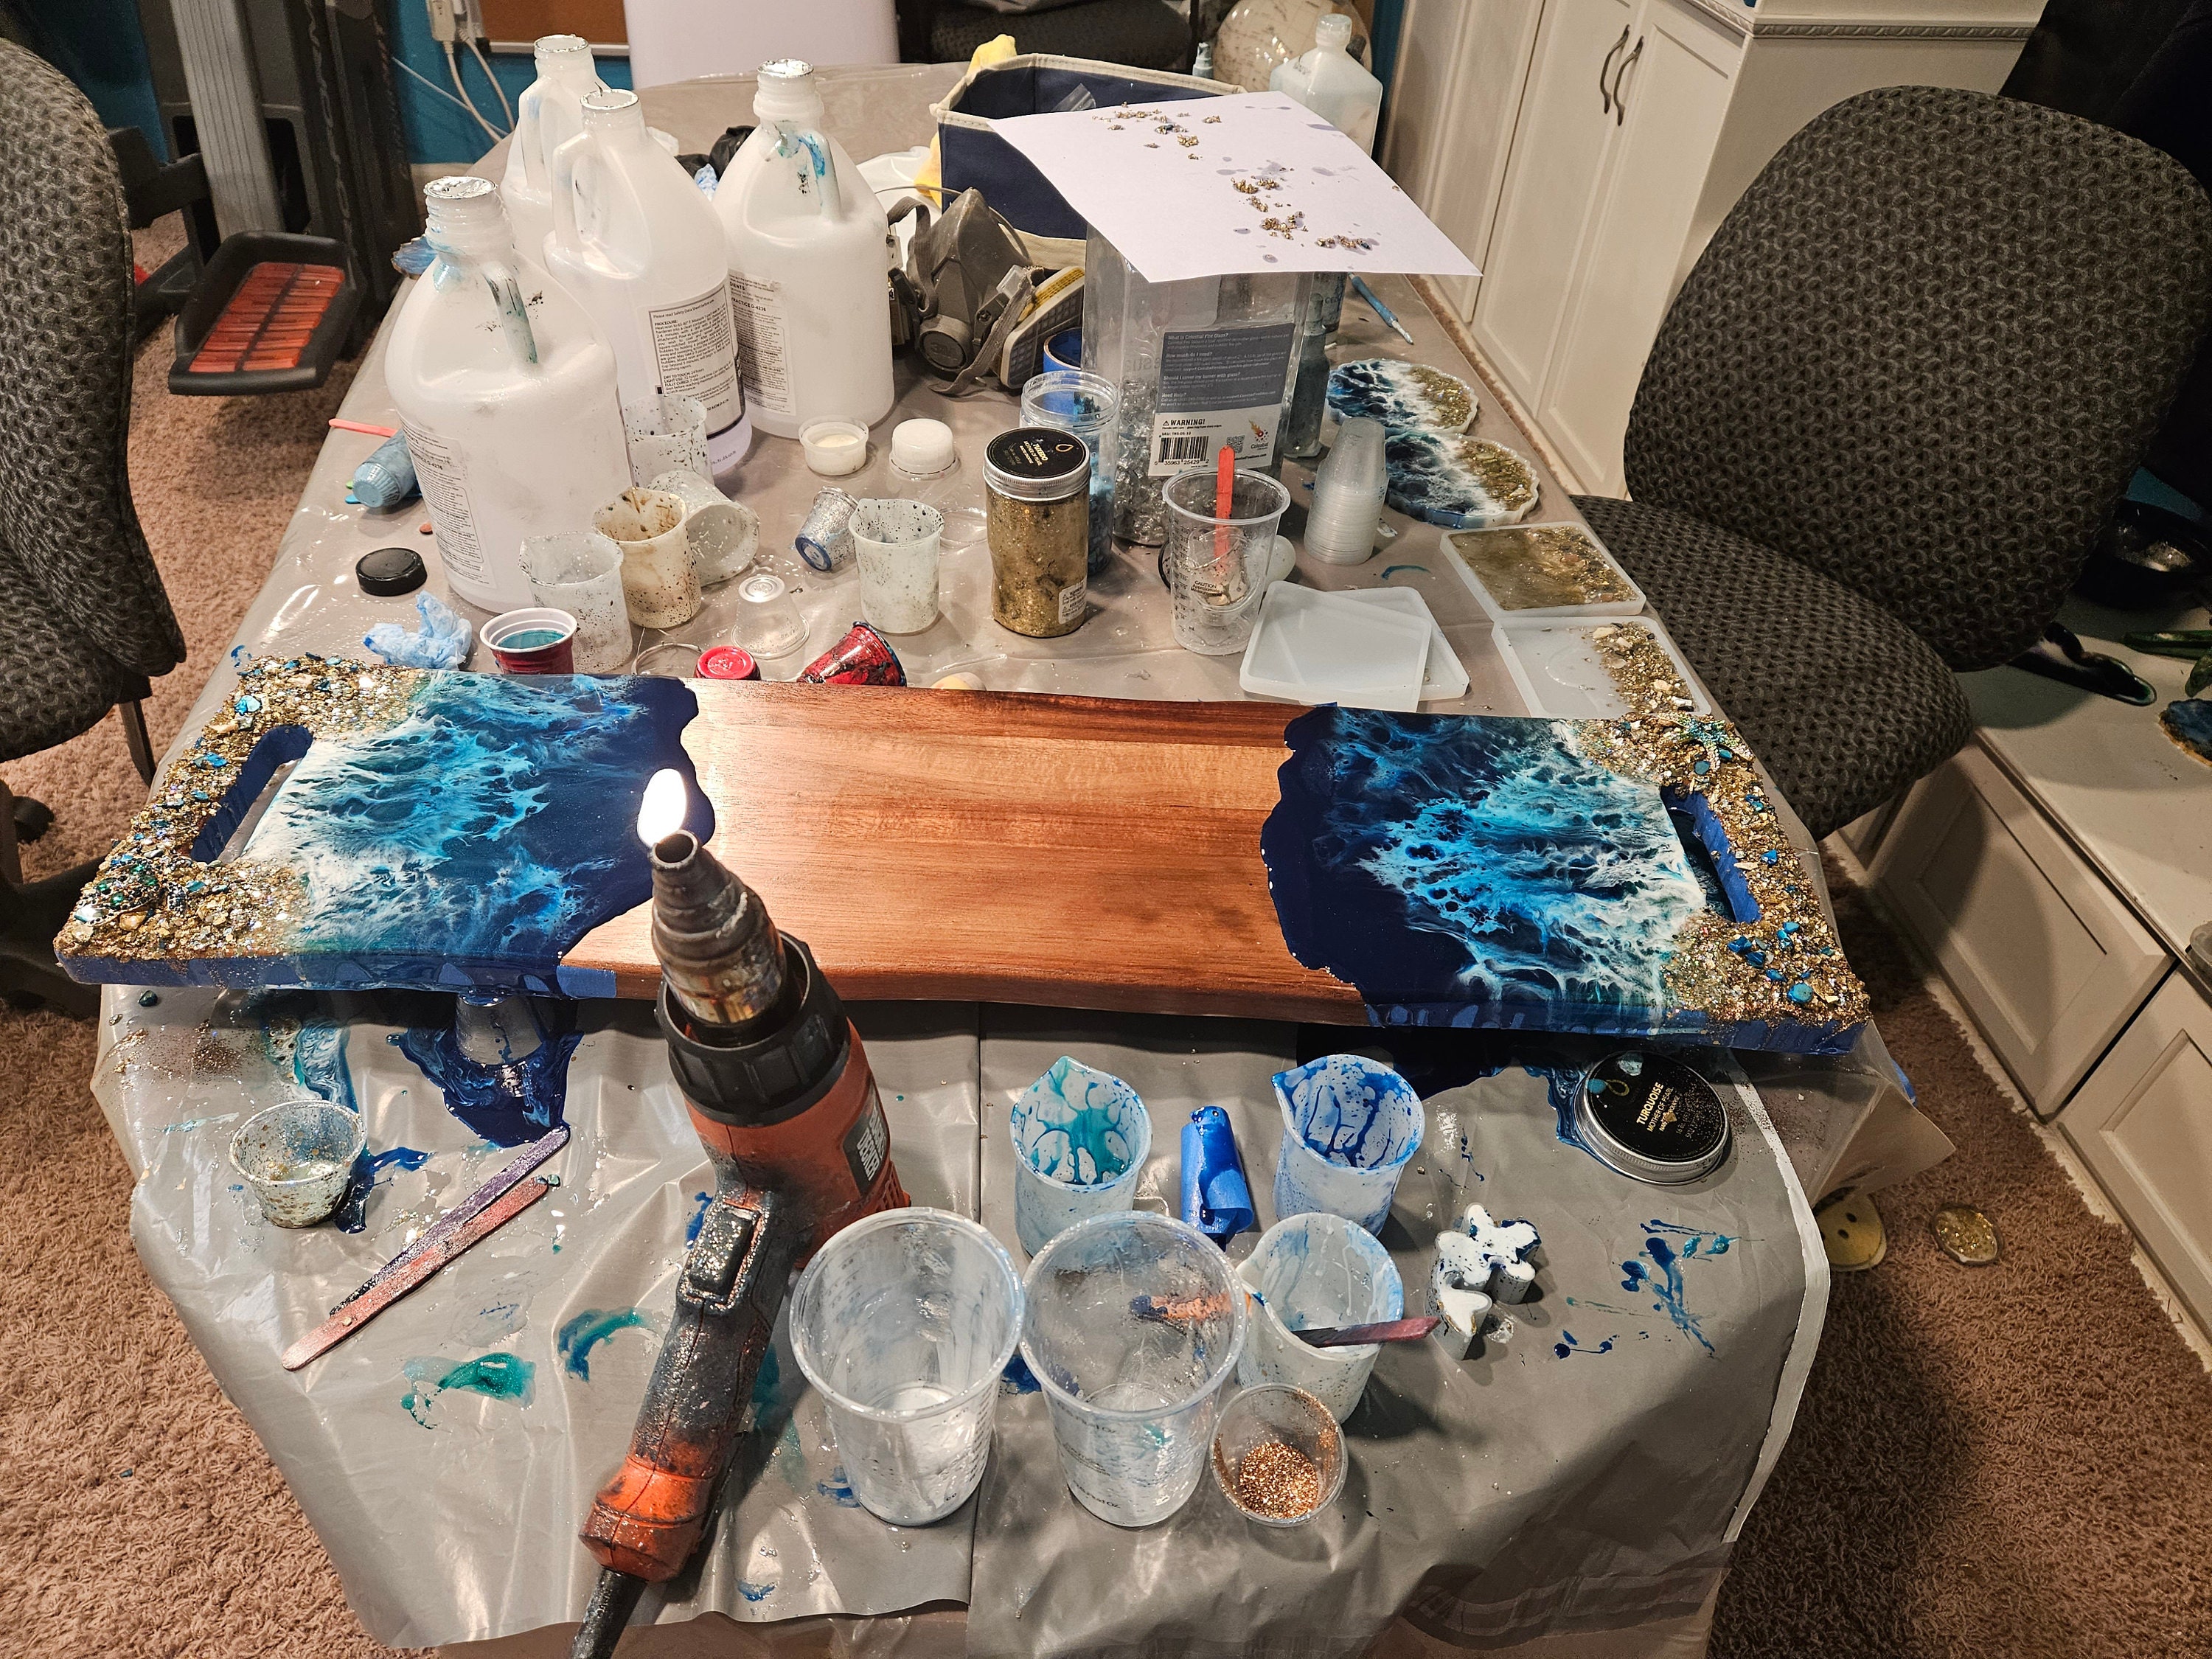
Resin art has taken the world by storm, and for good reason. This versatile medium allows artists of all levels to create stunning, glossy, and vibrant pieces that are as unique as they are beautiful. Whether you're a seasoned artist or a complete beginner, resin art is a fantastic way to unleash your creativity and make art that truly stands out. In this beginner's guide, we'll take you through the exciting world of resin art, from materials and techniques to safety precautions and inspiration. So, let's dive in and discover how to craft your own resin masterpieces!
Materials You'll Need Before you can start creating resin art, you'll need to gather a few essential materials:
- Epoxy Resin: This is the heart of your project. Epoxy resin comes in two parts – resin and hardener. When mixed in the right proportion, it creates a chemical reaction that hardens the liquid into a solid.
- Resin Pigments: These are used to add color to your resin. You can choose from a wide variety of pigments, including opaque and translucent options.
- Mixing Cups and Stir Sticks: These are crucial for accurately measuring and mixing the resin and hardener.
- Molds: Molds come in various shapes and sizes and are used to shape the resin into your desired form. You can use silicone molds for simplicity, or create your own.
- Heat Gun or Torch: These tools help to remove air bubbles from the resin, giving your final piece a crystal-clear finish.
- Safety Gear: Safety should always be a top priority. You'll need gloves, a mask, and protective eyewear to shield yourself from potentially harmful fumes and substances.
- Workspace: A clean, level, and well-ventilated workspace is essential. Cover your table with a disposable plastic sheet to protect it from resin spills.
Techniques for Resin Art
- Mixing Resin: The first step is to carefully measure and mix your resin and hardener according to the manufacturer's instructions. Stir slowly and avoid creating air bubbles during the mixing process.
- Adding Color: Once your resin is mixed, you can add your chosen pigments. Experiment with different color combinations and techniques like layering or swirling to create unique effects.
- Pouring: Carefully pour the resin into your mold. You can pour a single layer or add multiple layers for depth and dimension. Be mindful of air bubbles, using a heat gun or torch to remove them.
- Creating Effects: While the resin is still wet, you can get creative with various tools like toothpicks, popsicle sticks, or even your fingers to create texture, swirls, and other effects in the resin.
- Curing: Allow your resin piece to cure according to the manufacturer's instructions. This can take anywhere from 24 hours to several days, depending on the resin you're using.
Safety Precautions Working with epoxy resin requires some safety precautions. Always wear gloves, a mask, and protective eyewear to minimize exposure to potentially harmful fumes or skin contact. Work in a well-ventilated area or use a respirator if necessary. Ensure that you follow the manufacturer's safety guidelines and instructions closely. Finding Inspiration One of the most exciting aspects of resin art is the endless room for creativity. You can find inspiration in nature, abstract concepts, or your favorite artists. Pinterest, Instagram, and YouTube are great platforms for discovering new techniques and ideas. Remember, your art should reflect your unique style and personality. Conclusion Resin art offers a fantastic opportunity for artistic expression and creativity. With the right materials, techniques, and safety precautions, you can create stunning, one-of-a-kind pieces that captivate the eyes and imagination. So, don't hesitate to dive into the world of resin art, and start crafting your own breathtaking masterpieces today. Whether you're a beginner or an experienced artist, resin art is a journey worth embarking on.
